Hospital Management System with PHP
Hello everyone. Here, I will show the project I developed during my internship as a student at Sinerji Information Technology Company, which offers quite extensive options for hospitals with user and admin panels. You can follow my Github account for source codes:
Technologies Used
- HTML
- CSS
- JavaScript
- MySQL
Creating MySQL Database Connection with PHP
In projects we write using PHP, database management operations are usually performed through MySQL. There are two methods for connecting to an SQL database with PHP: MySQLi and PDO. First, we need to create a MySQL database. We had previously provided information about creating a database in another project. You can access it here. After creating the database, we can start writing PHP code.
Database connection is provided by creating a variable object:
$my_Object = new Object();Let's examine an example PHP code:
$conn = mysqli_connect("localhost", "my_user", "my_password", "my_database");
if (!$conn) {
    die("Connection failed: " . mysqli_connect_error());
}
echo "Connected successfully";
mysqli_close($conn);
The main method used in this script is the mysqli_connect() method. The mysqli_connect() method opens a new connection to the MySQL server. The syntax is: mysqli_connect (host, username, password, dbname, port, socket);. I'm thinking of adding tabs to the main page of the project to provide operations similar to other projects with doctor, patient and admin logins. The admin will be able to control all operations. At first, I will need to create a database. I have created a template of the elements I will add to this database. I will create tables for admin, appointment, doctor information including a doctor table, a separate doctor table containing username and password for them to login, a doctor table to separate them according to their branches, and tables for any user to login and keep their information.
The first step of my hospital management system project was to create a database. My project's database consists of 7 tables:
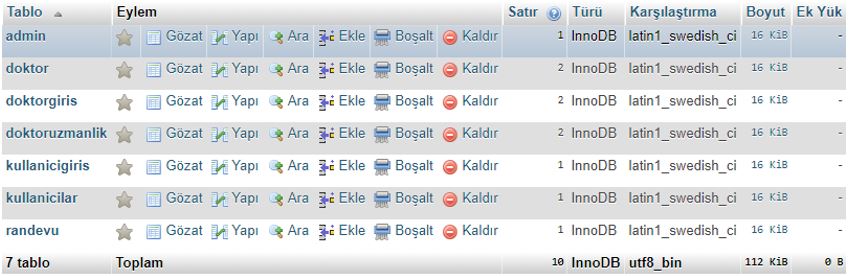
I added some content to each of the tables. For example:
- Doctor table:

- Users table:

Running the Project
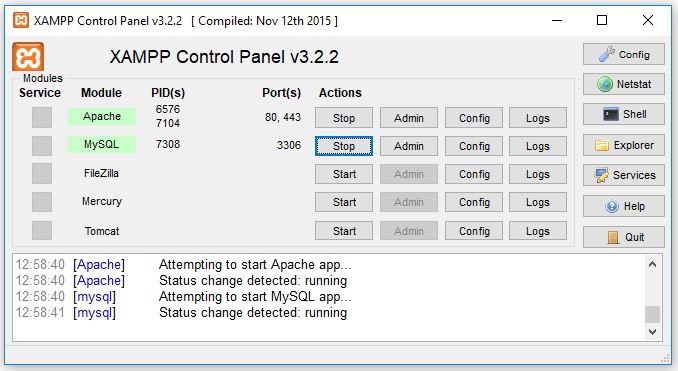
To run the project, first we need to open the XAMPP program installed on our computer and Start the Apache and MySQL options.
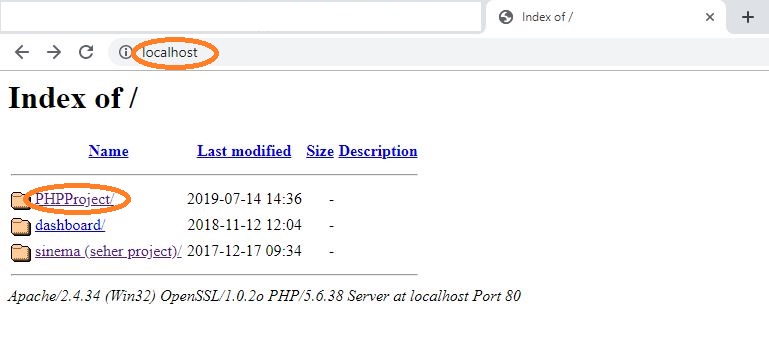
Then we type localhost in our web browser and select our project that we have previously added to the database.
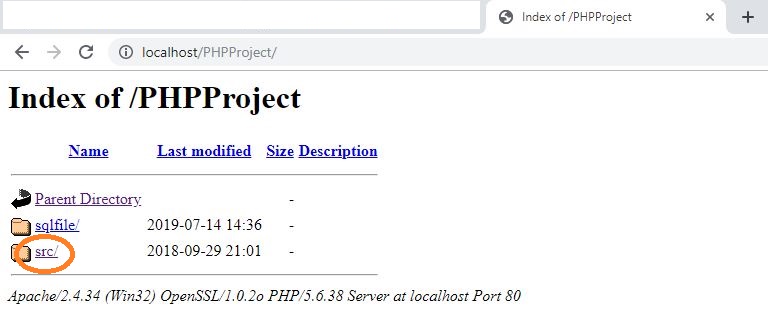
Finally, the src option, when clicked, will redirect us to the main page.
Site Design
I added tabs to the main page design of the project and we will provide links to the pages we want to reach from here.

The page we are currently on is the Home Page. We can click on Contact to see the contact information. We can log in through patient login in the Patients tab, and similarly doctor login and admin login in the others. I also tried to achieve a modern design using image effects with a slider in HTML code on the main page, and for that I used the ready-made responsiveslides.js:

With this function, we specified the maximum width and speed of the slider:
<script>
    $(function () {
        $("#slider1").responsiveSlides({
        maxwidth: 1600,
        speed: 600
        )};
    )};
</script>
The following code snippet specifies how many images the slider consists of and their order:
<div class="image-slider">
    <ul class="rslides" id="slider1">
        <li><img src="images/slider-image1.jpg" alt=""></li>
        <li><img src="images/slider-image2.jpg" alt=""></li>
        <li><img src="images/slider-image1.jpg" alt=""></li>
    </ul>
</div>
Contact
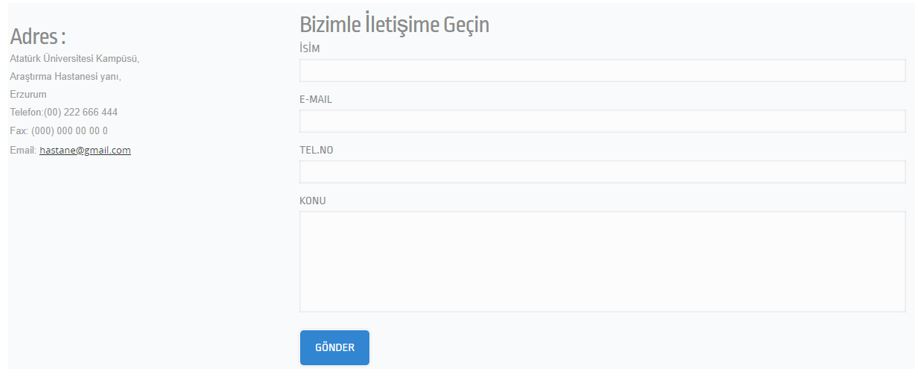
One of the essential features of a website is the ability for people to directly reach their contacts. The page that appears when we click on the essential Contact tab on all websites is as follows:
Patients
When we click to enter the Patients page of the project, a login page appears.
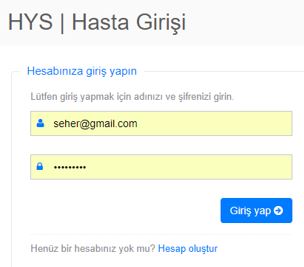
Initially, I can log in with the patient information I previously determined in the database. In addition to being able to add information to the database, patients can create a membership account through this page. Clicking on the "Create account" section below is sufficient for this.
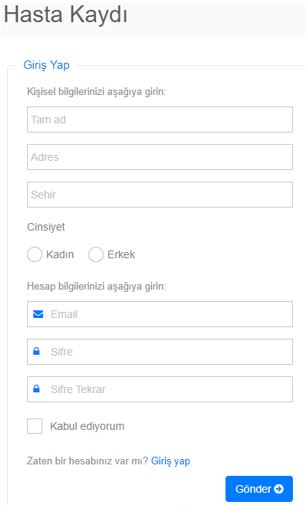
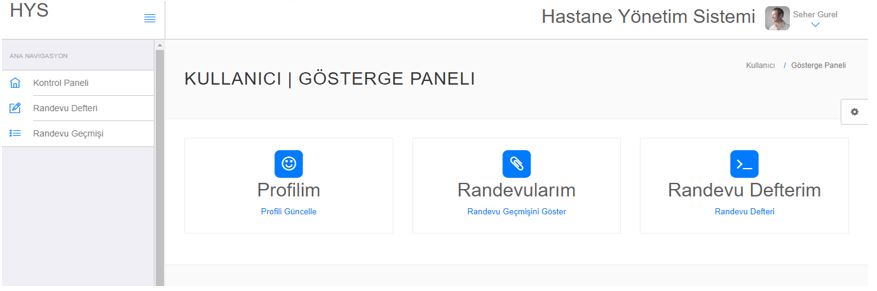
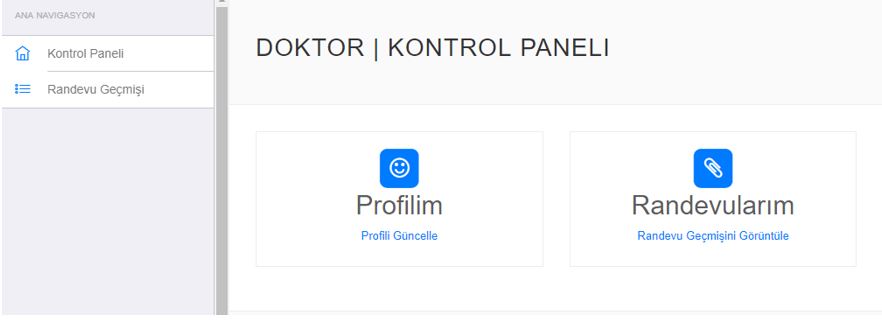
When we click, a registration page will appear. On this page, when we enter the requested information and click the Send button, we add one more member to the database and we can log in with the membership username and password we added. The page that appears after logging in is as below. When we click on the name in the upper right corner, we will have options to view profile, change password and log out. The first page that appears is the "Control Panel" page. In other tabs, we have options to create appointments and view created appointments. Additionally, ready-made bootstrap modules are available on the pages: sidebar, toolbar, etc.
Doctor Login
In the project, in addition to patients, opportunities are provided for doctors to meet their needs when they need to view their past appointments or when they want to update their current profiles. Like patients, doctors can also make changes to their passwords.
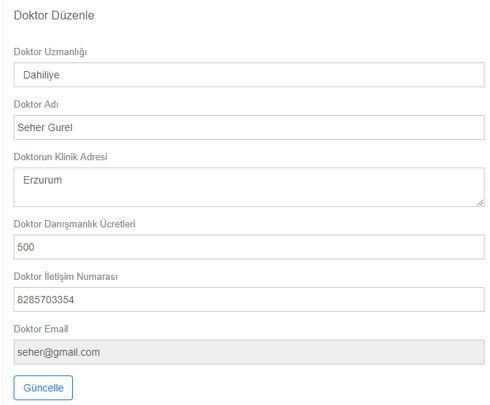
When we click on the update profile option, the page shown below appears. After applying changes to the parts we want to modify, when we click the Update option, our information is updated.
Admin Login
The admin page has much more features compared to others. As a result, since they are in the position of site administrator, they should be in a position to intervene in every event and data. The page that appears after logging in is as follows:
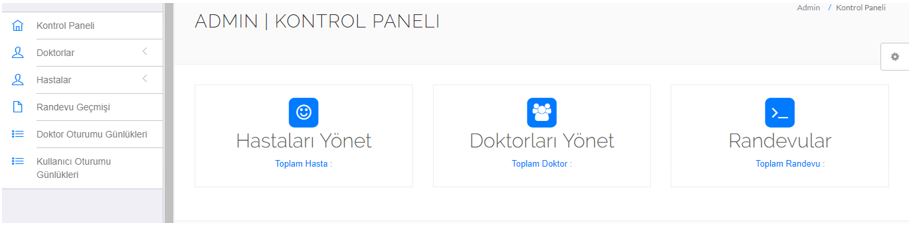
Here, the admin can view and intervene in doctor, patient and appointment information. For example, they can create a registration for a new doctor coming to the hospital.
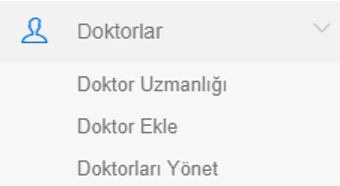
The advantage I think of providing in the Doctor Specialty option is that when a department that does not currently exist in the hospital is opened, we can directly add a new department from here. With the "Add Doctor" option, we will register the department's doctor and offer it to the service of patients.

The changes we make here will be updated in the database in the same way.