What is Node-Red?
Introduction to Node-Red and Beginner Level Examples
Hello everyone. Today I want to talk about the Node-Red application development environment, which I recently became acquainted with and believe we will encounter frequently in the future. Node-Red is a NodeJS-based development environment that works with event flow logic on web browsers. With Node-Red, we can connect events or applications to each other very easily. We can run it on our local computer, on a device, or in the cloud.
Node-Red Installation
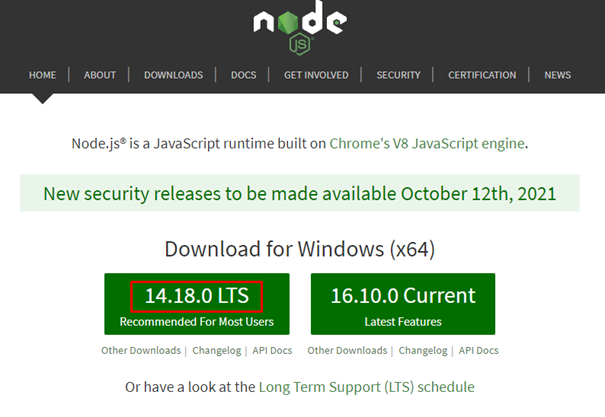
For Node-Red, we first need to install NodeJS on our computer. For this, you can download and install the recommended version from its official website.
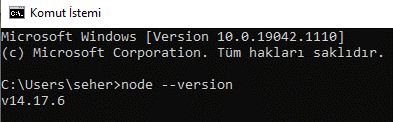
After installing NodeJS, let's check the version from CMD to make sure we completed it successfully:
node - -version
After making sure NodeJS is installed, let's enter the necessary command for Node-Red:
npm install -g --unsafe-perm node-red
If you are installing on Linux:
sudo npm install -g --unsafe-perm node-red
you can complete it with this.
After completing this process, we will have downloaded all the necessary files. We will start the services by typing node-red in CMD.
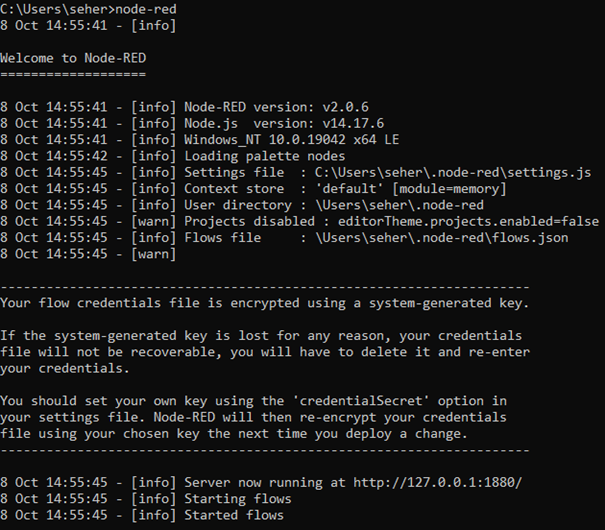
As you can see, the server started running on port http://127.0.0.1:1880. Now let's go to this address and examine the Node-Red interface.
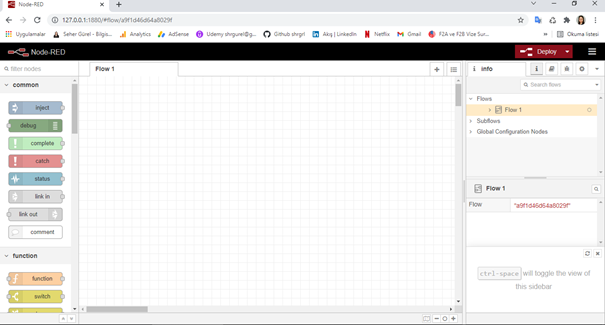
When we first open it, we see an empty flow screen named "Flow 1". On the left side, there are Node palettes we can use, and on the right side, there are areas where we will track Node-Red and application flow information. First, let's start with our "Hello World!" example, as in all programming languages.
For this, we will select the inject node from the Node palette, print the text as a string, send it to the output node with a message, and get our text output with debug:
After this simple example, let's now make an example where we can use functions. Along with Hello World, let's add the following javascript function code that shows the current time and print both together.
    var dateNow = new Date();
    var timeAsString = dateNow.toLocaleTimeString();
    msg.payload = msg.payload +
                    ' The time is ' +
                  timeAsString + '.';
    return msg;
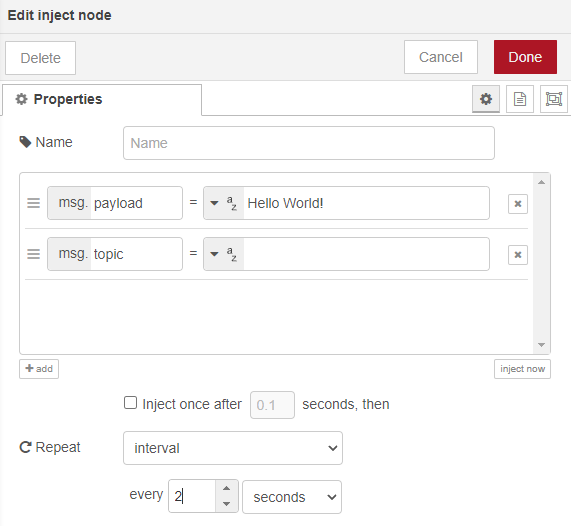
As a different option, if we want to print the message at specific second intervals, we can make the following settings in the inject node. As an example, I'm setting the time interval where we can print Hello World! at 2-second intervals:
We can run it by clicking Deploy after each modification we make. These were the simplest examples of how we can use Node-Red. In the coming days, we will understand the working logic of Node-Red with more comprehensive examples. I hope it will be useful for everyone who reads it.
← Back to TECHNOBLOG