Github Pages
Free Hosting Service
Hello everyone. I would like to talk to you about an environment that I experienced about 2 years ago, benefited from, and was quite satisfied with the results. During my final years at university, I did some research on where to start to build a website where I could share my own experiences. I examined dozens of portfolio-template examples. My favorite idea was to create my own portfolio site with Github Pages. This way, I was able to publish my own website by taking advantage of Github Pages' free hosting opportunity. Now I hope to provide you with useful information on how you can create your own website with Github Pages step by step.
What is Github Pages?
First, let's briefly talk about the features of Github Pages. GitHub Pages is a static hosting service that takes HTML, CSS and JavaScript files directly from a repository on GitHub and publishes a website. You can get more detailed information from here and examine Github's own example collection. The first and most important step in creating a Github Pages site is the naming standard. As you will see in the example we will do soon, the rule is:
your-uname.github.ioNow let's find a nice design with a quick search. Of course, you can do it yourself from start to finish, but for this you will need to know the Github Pages Markdown Cheatsheet well. I find it more useful to use a ready-made template to show how you can use it for free in your own name. Let's come to the template example we will use;
You can also look at Github Pages' own collection, but I prefer to do a random research and examine this first example that I came across.
We examined the website by taking the first example we encountered as a reference. It's a sufficient example to try. You can also go with any example you want or your own design. Now we will create a repository from our Github account.

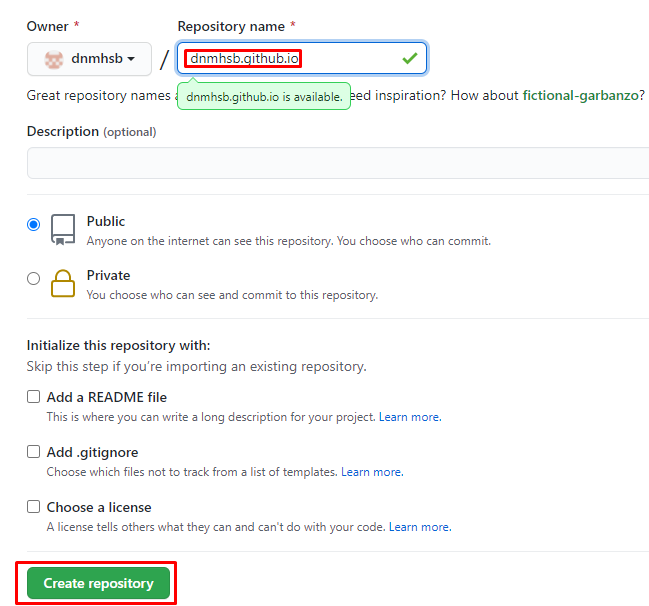
As we said before, we need to pay close attention to our naming standard here. As you can see below, we name it as "your-uname.github.io" and create our repository.
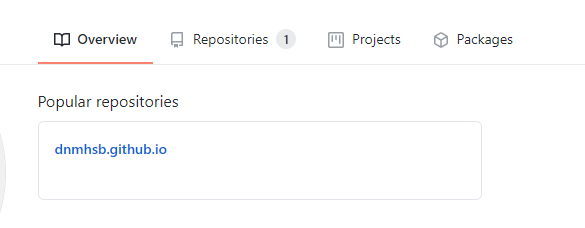
And thus we have created an empty repository:
Now, when we look into the empty repository to push the repository we examined earlier to our own repository, it offers us some options. Now we will clone the project we examined with Git Bash and push it to our own repository.
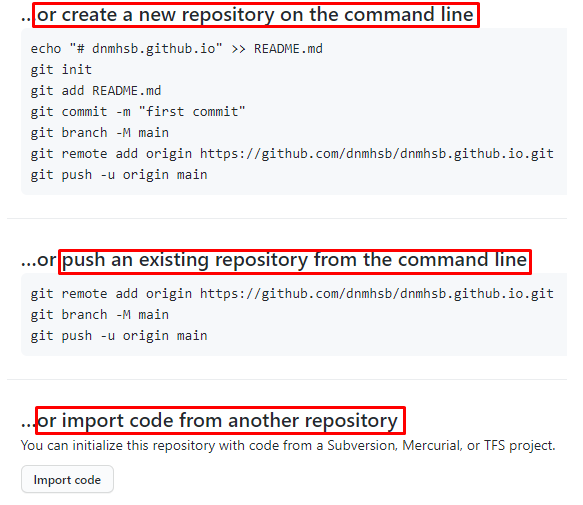
Here, before starting the push process, we need to clone the repository we based on:
git clone https://github.com/your-uname/reponame.git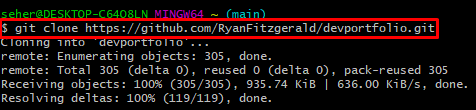
After cloning, let's navigate to this file's directory:
cd reponameAnd let's perform the following operations respectively:
git init
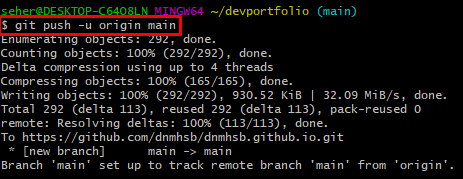
git remote set-url origin https://github.com/your-uname/your-uname.github.io.git
git branch -M main
git push -u origin mainFinally, we need to have pushed without getting such an error.
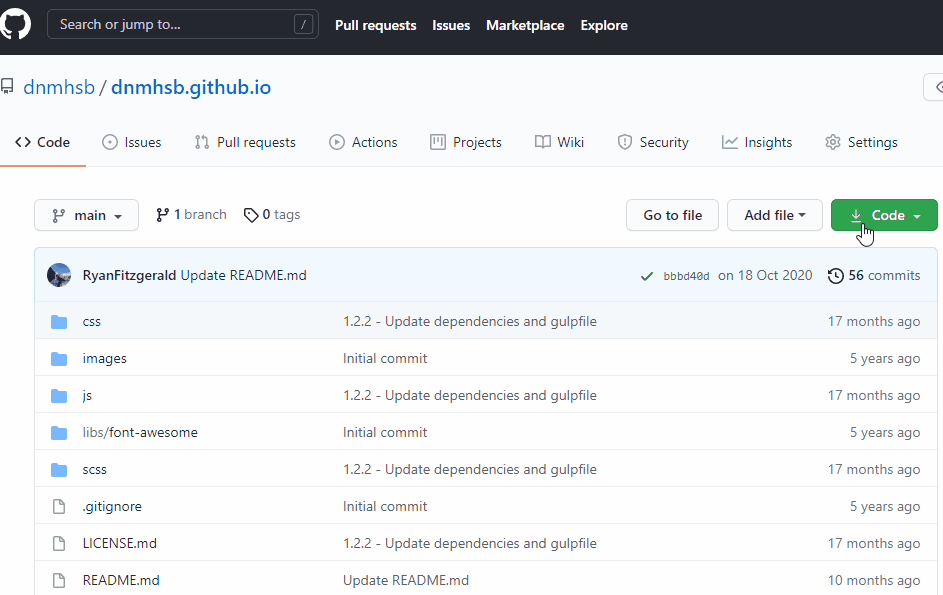
After this process, when we check our repository content, we see that we have copied it without any problems.
Now you can run this project with the your-uname.github.io URL.

You can make the changes you want through your own repository.
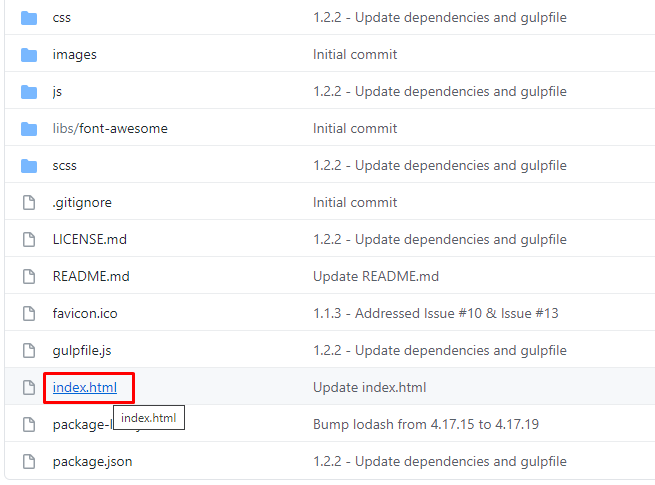
For example, when I look at the operations I can do within the index.html directory:
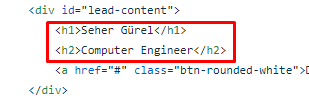

Like this, you can go with the existing design, add/remove new areas, change images, color properties and make a customization according to yourself and use it. Later, you can buy a domain name and use your website with your own domain name by taking advantage of Github Pages' free hosting service.
I hope it has been a useful resource for those interested. Good work.
← Back to TECHNOBLOG